Simple Steps For Sewing Buttons On By Hand
Sewing buttons is quick and easy if you familiarize yourself with the steps beforehand. There's only a few basic sewing supplies needed for sewing on buttons.
Don't let it be more intimidating that it needs to be. It's satisfying to get that piece of clothing back into perfect shape without a trip to the tailor's shop!
These steps are for sewing on a Sew-Through Button that will be actually used to "button" something.
For purely decorative buttons, just leave out the toothpick steps. You will not need to create a shank in this case.
Cut a piece of thread about 18" long. Thread Your Needle. Double up your thread if you are using regular thread by pulling your thread through the needle halfway and knotting the two ends together.
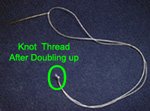

You now have a 9" double strand of thread to sew with. Run your thread through the beeswax now if you want.
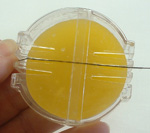
Start Sewing on the button by first bringing the threaded needle up from behind through the fabric at the location where you want that button to be sewn.

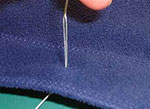

Now, bring the needle up through one hole in the button.
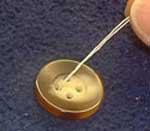
Place the toothpick on the button between the holes. This is used as a spacer to create some slack for your button.
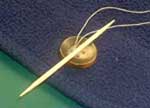
Bring your needle back down through the second hole and through the fabric as well. Now, you are once again behind the button and on the back side of the fabric. Repeat stitching up and over the toothpick 3 to 4 more times.
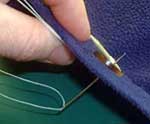
If your button has four holes, you now jump over to the other 2 holes (from the back side) and repeat the above steps again.
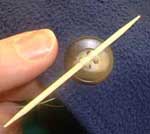
You could also choose to cross your threads in an X formation.
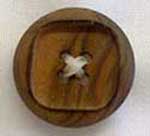
Remove the toothpick and you will notice the slack the button now has.

Next, wrap the thread around the "shank" between the button and the fabric 5-6 times for reinforcement.
Note: I used very heavy thread for illustrative purposes. Normally, I wouldn't choose this upholstery weight thread.
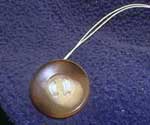

Bring the needle and thread to the back of the fabric once again. Take 3-4 stitches in the fabric behind the button to secure the thread without going through to the front.
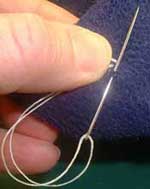
Knot thread and cut thread close to fabric.
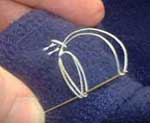
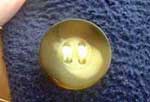
Your Button is finished!
Related Articles
Go To CreativeSewingTips.com Home Page


